Cherry Jam with Orange Zest
Introduction
Cherry jam is a delightful way to preserve the sweet, juicy flavors of summer. When paired with the bright, refreshing zest of oranges, this jam becomes a vibrant addition to your pantry. This recipe not only highlights the natural sweetness of cherries but also adds a citrusy twist that makes it stand out. Whether you plan to use it on toast, in pastries, or simply enjoy it by the spoonful, this cherry jam with orange zest will elevate your breakfast and dessert game.
Ingredients
To make your cherry jam with orange zest, you will need the following ingredients:
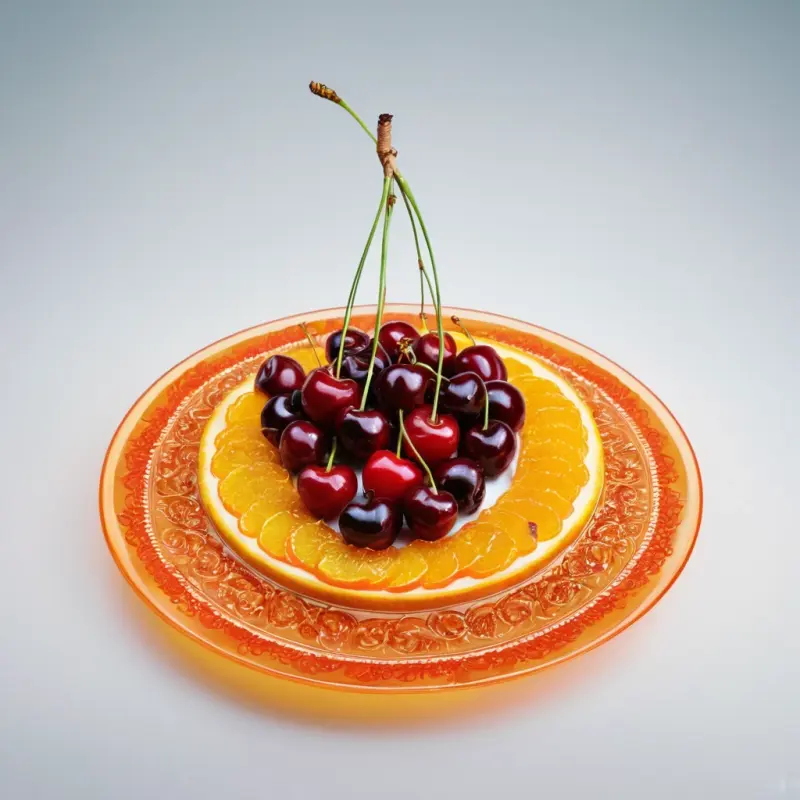
- Fresh Cherries: 2 pounds, pitted and halved
- Granulated Sugar: 4 cups
- Fresh Orange Zest: From 2 oranges
- Fresh Orange Juice: 1 cup
- Lemon Juice: 1 tablespoon (optional, for a tangy flavor)
- Pectin: 1 package (if using low-sugar pectin, follow the package instructions)
Equipment Needed
Before you start cooking, gather the following equipment:
- Large pot or saucepan
- Wooden spoon
- Ladle
- Sterilized jars and lids
- Canning funnel (optional, but helpful)
- Potato masher (optional, for a smoother jam)
Preparation Steps
Step 1: Prepare the Jars
Start by sterilizing your jars and lids. You can do this by placing them in a boiling water bath for 10 minutes or running them through a dishwasher cycle on a hot setting. Ensure they are completely dry before use.
Step 2: Prepare the Cherries
Wash the cherries thoroughly under cold water. Remove the stems and pits. You can use a cherry pitter for this task, or simply cut the cherries in half and remove the pit with your fingers. Place the prepared cherries in a large pot.
Step 3: Mix the Ingredients
Add the granulated sugar to the pot with the cherries. Stir well to combine, allowing the sugar to coat the cherries. Let this mixture sit for about 30 minutes to draw out the juices from the cherries.
Step 4: Add the Zest and Juices
After 30 minutes, add the freshly grated orange zest, orange juice, and lemon juice (if using) to the cherry mixture. Stir well to combine all the ingredients.
Step 5: Cook the Jam
Place the pot over medium heat and bring the mixture to a boil, stirring frequently. Once it starts to boil, reduce the heat to medium-low and let it simmer. Continue stirring occasionally to prevent sticking. Cook for about 30-40 minutes, or until the jam thickens. If you're using pectin, follow the package instructions for timing and adding the pectin.
Step 6: Test for Doneness
To check if your jam is ready, use the plate test. Place a small amount of jam on a cold plate and let it sit for a minute. Run your finger through the jam; if it holds its shape and doesn’t run back together, it’s ready for canning. If not, continue to simmer for a few more minutes.
Step 7: Jar the Jam
Once your jam has thickened to your liking, remove it from the heat. Use a ladle to carefully pour the hot jam into the sterilized jars, leaving about 1/4-inch headspace at the top. Wipe the rims of the jars with a clean cloth to remove any residue. Seal the jars with the sterilized lids.
Step 8: Process the Jars (Optional)
If you want to preserve your jam for longer, process the jars in a boiling water bath for 10-15 minutes. This step helps to create a vacuum seal and extend the shelf life of your jam.
Step 9: Cool and Store
Let the jars cool completely on a clean towel or cooling rack. Once cooled, check the seals by pressing down in the center of each lid. If it doesn’t pop back, the jar has sealed properly. Store the sealed jars in a cool, dark place. Unsealed jars can be refrigerated and used immediately.
Enjoying Your Cherry Jam
Your homemade cherry jam with orange zest is now ready to enjoy! Spread it on warm toast, swirl it into yogurt, or use it as a filling for pastries and desserts. The combination of sweet cherries and zesty oranges creates a delightful flavor that will brighten up any meal.
Additional Tips for Making Cherry Jam with Orange Zest
To enhance your experience with making cherry jam with orange zest, here are some additional tips and creative ideas:
1. Choosing the Right Cherries
When selecting cherries, look for ripe, firm ones without blemishes. Sweet cherries, such as Bing or Rainier, are excellent choices for jam due to their natural sweetness. Sour cherries can also be used if you prefer a tangier flavor.
2. Storing Your Jam
Once your jam is sealed and cooled, store it in a cool, dark place. For optimal freshness, consume homemade jams within a year. Always check for any signs of spoilage before using.
3. Flavor Variations
Feel free to experiment with other flavors! Adding a dash of cinnamon or a splash of vanilla extract can complement the cherry and orange beautifully. You might also consider incorporating other fruits like raspberries or blueberries for a mixed fruit jam.
4. Gift Idea
Homemade jam makes a thoughtful gift! Consider decorating your jars with ribbons or custom labels to personalize them. They are perfect for holidays, birthdays, or housewarming gifts.
5. Culinary Uses
Aside from spreading on bread, this cherry jam can be used as a topping for ice cream, a filling for cakes, or even drizzled over pancakes or waffles for a delightful breakfast treat.
Conclusion
Making cherry jam with orange zest is a rewarding culinary experience that captures the essence of summer fruits. With just a few simple ingredients and steps, you can create a delicious preserve that you and your family will love. So, gather your ingredients, roll up your sleeves, and enjoy the process of making this delightful jam!
Articles
Subscribe to our updates and receive the most recent and interesting articles directly in your inbox.